Word processing skills: MS Word Basic

 • When you first start Microsoft Word, you normally see the Home tab displayed, as illustrated. This tab contains icons and other controls that are most commonly used within Microsoft Word, such as making text display as bold or underlined. You can also find more advanced options such as paragraph alignment, numbering and bulleting. Move the mouse pointer over some of the icons and get a feel for what options are contained within this tab.
Insert
 Click on the Insert tab and you will see commands and options relating to inserting items within your Microsoft Word document. Again, move the mouse pointer over the items and see what is available.

 Instructions.Things You'll Need

I would have never thought this week to be extremely beneficial in a way of enhancing and making the skills those have been gained in days of yore more durable than ever before. It is because this week we repeated and remembered some skills which we took out of the mind for a while.
This week was about the word processing skills, particularly, MS word basic.
The organization of the lesson was quite satisfactory.
It was as following:
Microsoft Office, Introduction to Microsoft Word, Getting started with Word, Text Basics, Formatting, Working with Graphic ,Finally, Summary.
Before moving to the topic teacher explained that Microsoft Office includes various programs
Then the introductory part was explained. According to that, Using Microsoft Word, user easily can change the shape, size color of text, shading, add tables pictures, charts and web addresses in documents.
In Addition, it was said that word is full featured word processing program that allows user to create many types of personal and business documents including flyers, memos, reports and etc.
In order to get started with Word we should go following link:
http://www.gcflearnfree.org/word2010
In sequence, word window was explained, According to that, Microsoft Window consist of variety components. This include the document window, Ribbon, Mini Toolbar, Shortcut menus and Quick Access Toolbar
The Microsoft Word 2010 screen
• When the Microsoft Word 2010 program loads, your screen will look something like this.
Ribbon Tabs
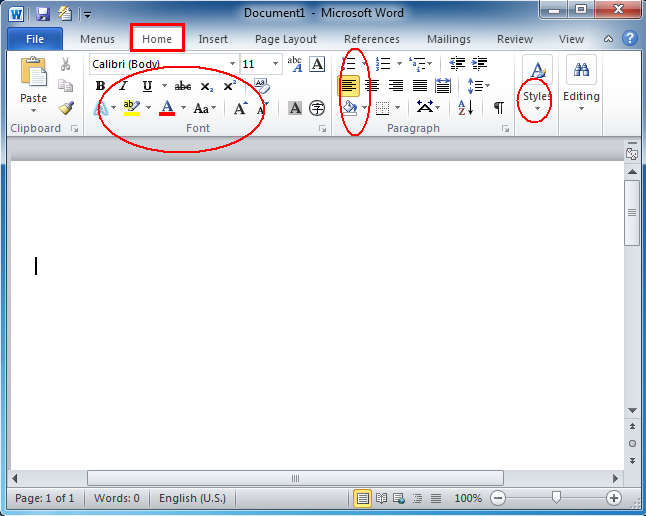 • When you first start Microsoft Word, you normally see the Home tab displayed, as illustrated. This tab contains icons and other controls that are most commonly used within Microsoft Word, such as making text display as bold or underlined. You can also find more advanced options such as paragraph alignment, numbering and bulleting. Move the mouse pointer over some of the icons and get a feel for what options are contained within this tab.
 Insert
 Click on the Insert tab and you will see commands and options relating to inserting items within your Microsoft Word document. Again, move the mouse pointer over the items and see what is available.
What is text formatting?
• You can format a document at different levels within Microsoft Word. The most basic level is called text formatting. This relates to formatting characters and words within a document and covers the font type, font size, font color and font attributes such as bold italic or underlining.
Word Processing skills: MS Word Advanced
Add or remove titles in a chart

To make a chart easier to understand, you can add titles, such as a chart title and axis titles, to any type of chart. Axis titles are typically available for all axes that can be displayed in a chart, including depth (series) axes in 3-D charts. Some chart types (such as radar charts) have axes, but they cannot display axis titles. Chart types that do not have axes (such as pie and doughnut charts) cannot display axis titles either.
Creating Mail Merge Documents:
 Instructions.Things You'll Need
 1.Close all open Word documents and create a new one.
2.Go to the Tools menu and select Mail Merge
3.Select Create and then Form Letters, and then click the Active Window button.
4. Click the Edit button and select the document you just created.
5. Go to the Insert menu, choose the third Date and Time (month, date, year) choice and click OK.
6. Press Return four times and begin typing the contents of your letter with only the salutation followed by a colon (for example, "Dear:"); do not include the name or address of any of the people to whom you are writing.
7. As you write the letter, leave blank any place you want to fill in later with a name or other personal information.
8. After you've written the letter, position the cursor where you want to insert the first "merge field," or item to be filled in later (probably the name after "Dear:"), and then click Insert Merge Field on the Mail Merge toolbar. Do this with each merge field until you've placed all of them in the correct position in the mail merge form letter.
9.Save the letter as Merge Main Letter.
10. Go to "How to Set Up a Mail Merge Data Source in Microsoft Word" to learn how to set up the names and addresses to be merged into your letter.
Work with Hyperlink:

· Hyperlinks: navigate from one web page to another
· Hyperlinks have two basic parts:
a. The address of the web page, email address, or other location that they are linking to
b. The display text (or image).
Summary:
By the end of this session we have learnt:
· Modifying Page Layout
· Checking spelling and grammar Working with Lists, Breaks , Columns, Tables, and Hyperlinks
· Working with Shapes, Styles
· Using Mail Merge
No comments:
Post a Comment